

Deploying to On-Prem Server with using Azure DevOps - Pipelines


Deploying to On-Prem Server with using Azure DevOps - Pipelines
For a long time, I am thinking to share my development experiences 📋. After all this desire and the pandemic time (COVID-19 #StayHome), I decided to share my Azure DevOps on-prem deployment experience. 💪
Azure DevOps is a platform that helping to improve SDLC (Software Development Life Cycle)
In this article, we will use Azure Pipelines while creating our automated deployment.
Basically, Azure DevOps teams define Azure Pipelines as ‘Build, test, and deploy with CI/CD that works with any language, platform, and cloud.’
Here, I will explain how to create build and release pipeline at Azure DevOps and deploy your code to the on-premises server
Table of Content
- Prerequisites
- Creating .NET Core Build Pipeline
- Set Up Deployment Group
- Creating the Release Pipeline
- Run and Deploy 🚀
Prerequisites
Basic .NET and IIS deployment knowledge.
PS. I am going to deploy the app which is based on .NET Core 3.1 SDK
Creating .NET Core Build Pipeline
Here is our blank.netcore. It’s the project that we are going to build then deploy! It’s totally empty app. I just clicked create a project then select mvc so then next next next ⏭️… The repository hosted on GitHub.
Let’s dive into the build action 🏁
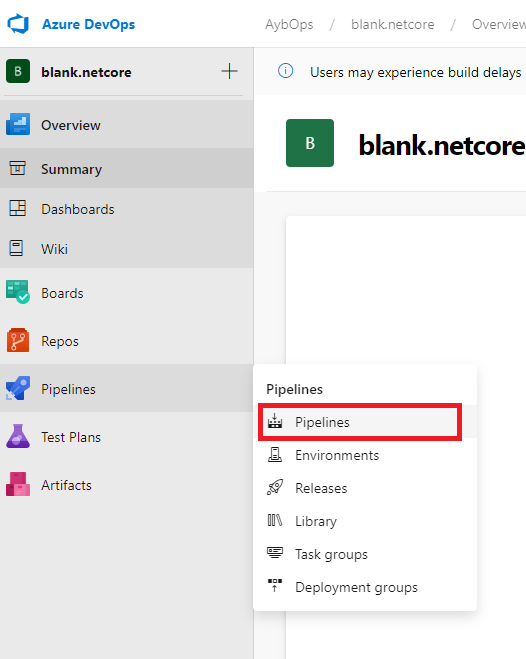
Azure Pipelines
Currently, we do not have any pipeline so let’s create one!
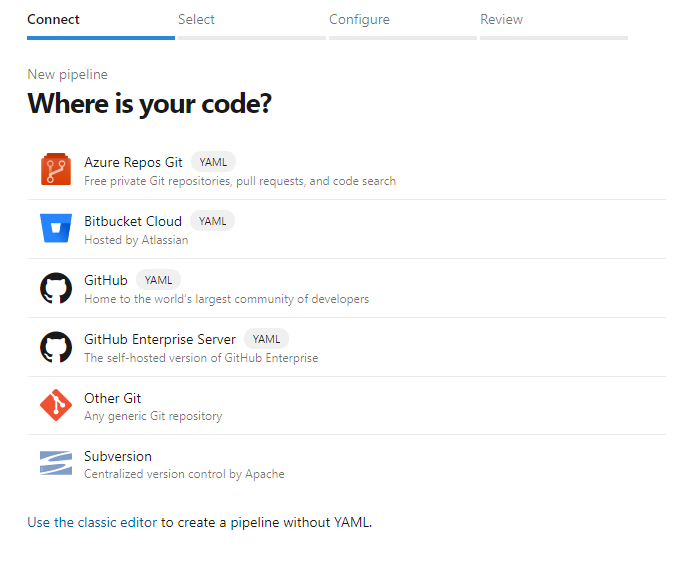
after we clicked the create pipelines. Need to select the source repository. In our example, blank.netcore is on GitHub so select the GitHub then select the blank.netcore repository.
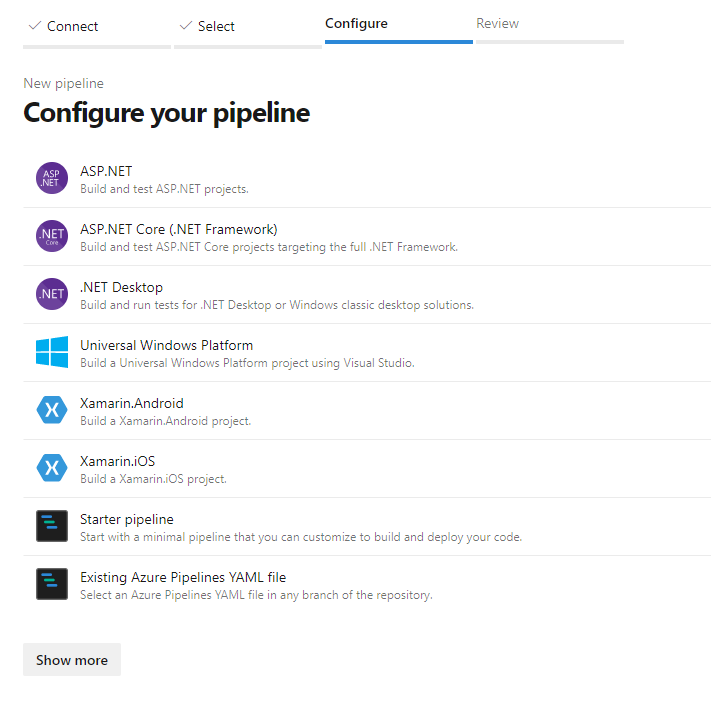
Let’s write our YAML on the Configure part. I select ASP.NET Core template.
After some modification, you can see the entire yml above.
We zipped the published project and move it to the drop. (will download zipped project while releasing)
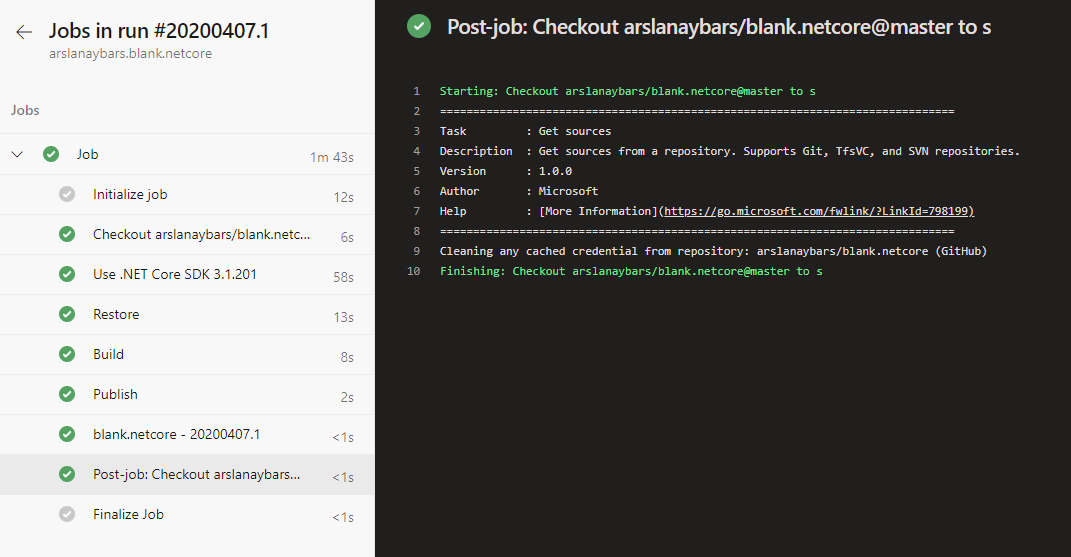
Our build progress is completed ✔️
Set Up Deployment Group
We need to set up our deployment group for connecting our on-prem server. It runs behind the firewall. So after you set up the deployment group, don’t need to touch any firewall or configuration settings at all.
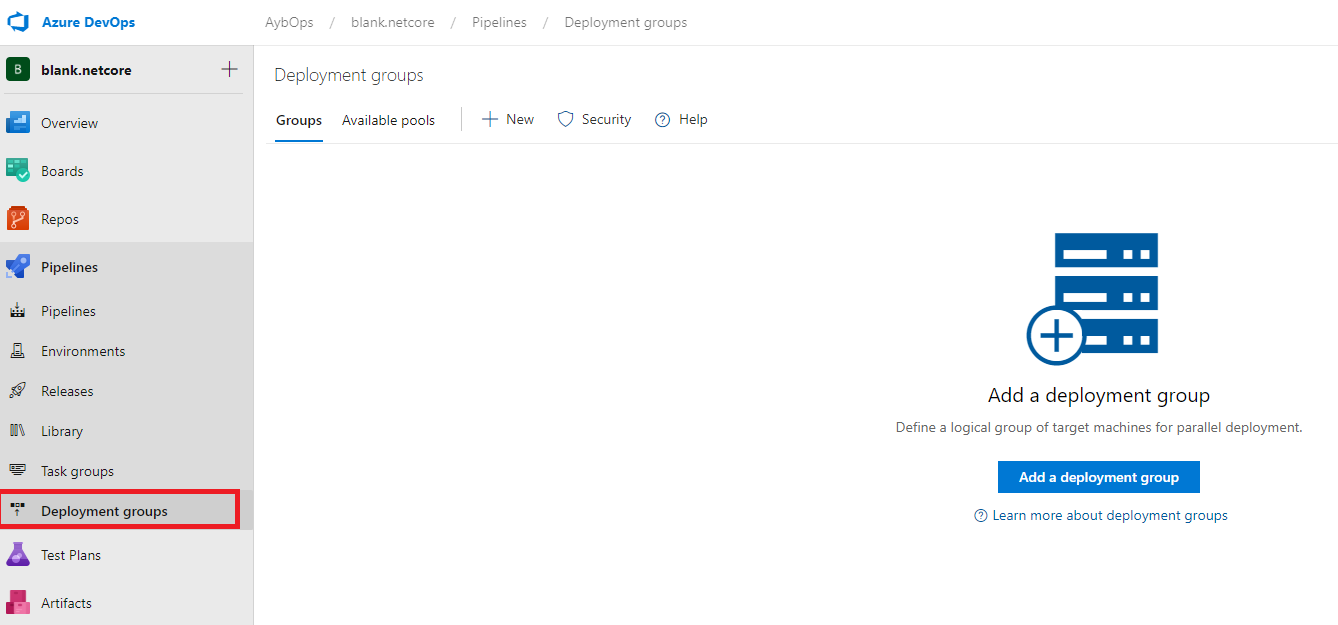
Let’s click to add a deployment group button!😎👍
We specify the name and description then create and magic is happening. Azure DevOps gives us the code that we need to run our server. You can do it for Windows or Linux Server as well
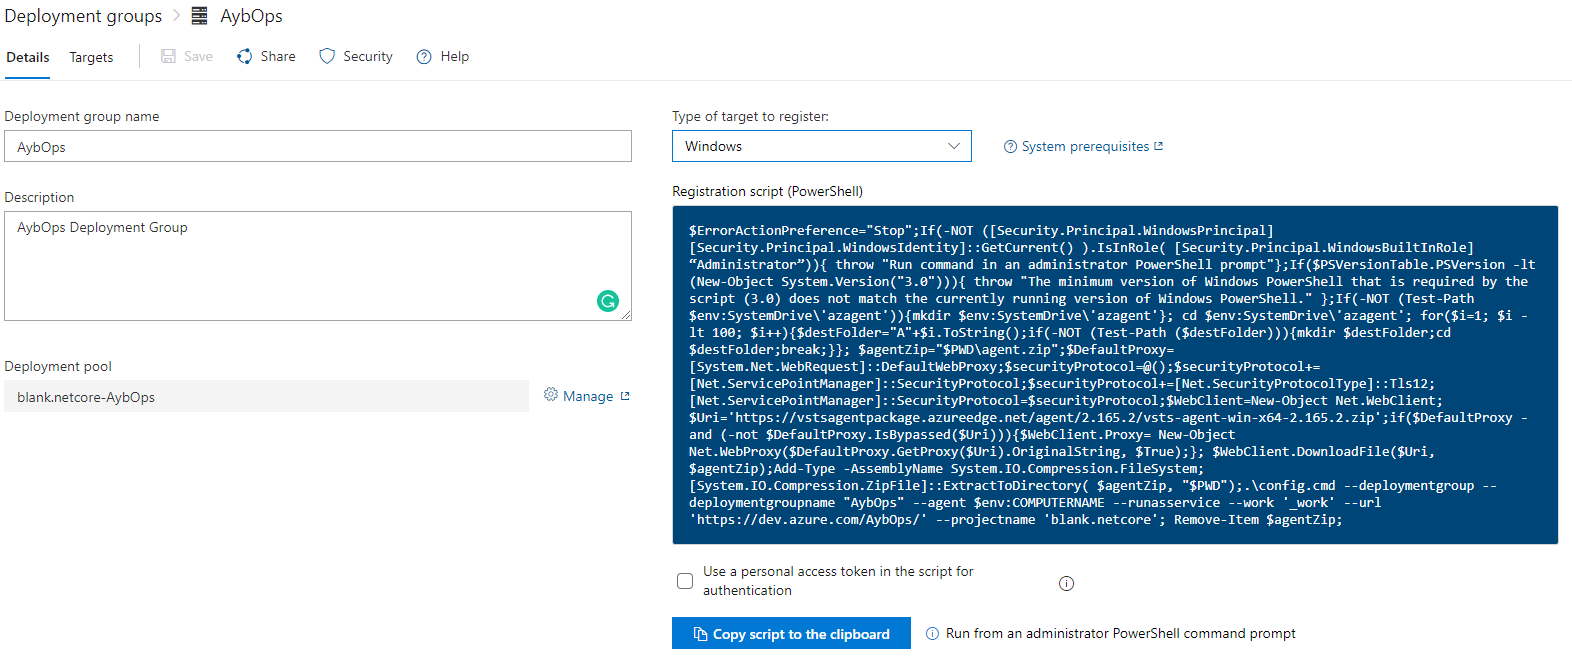
If you select to authentication checkbox, it adds the authentication for us. We don’t have to do anything.
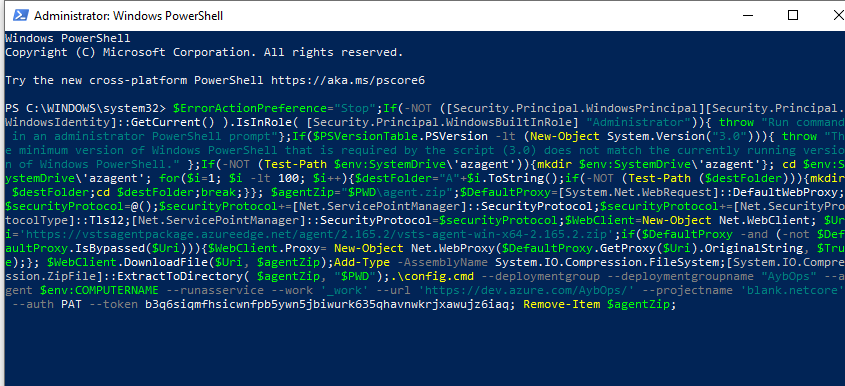
Just pasted the copied script to PowerShell. You can specify agent name, tags vs then our set up is ready!
Creating the Release Pipeline
Time for creating a release.

Click the new pipeline button
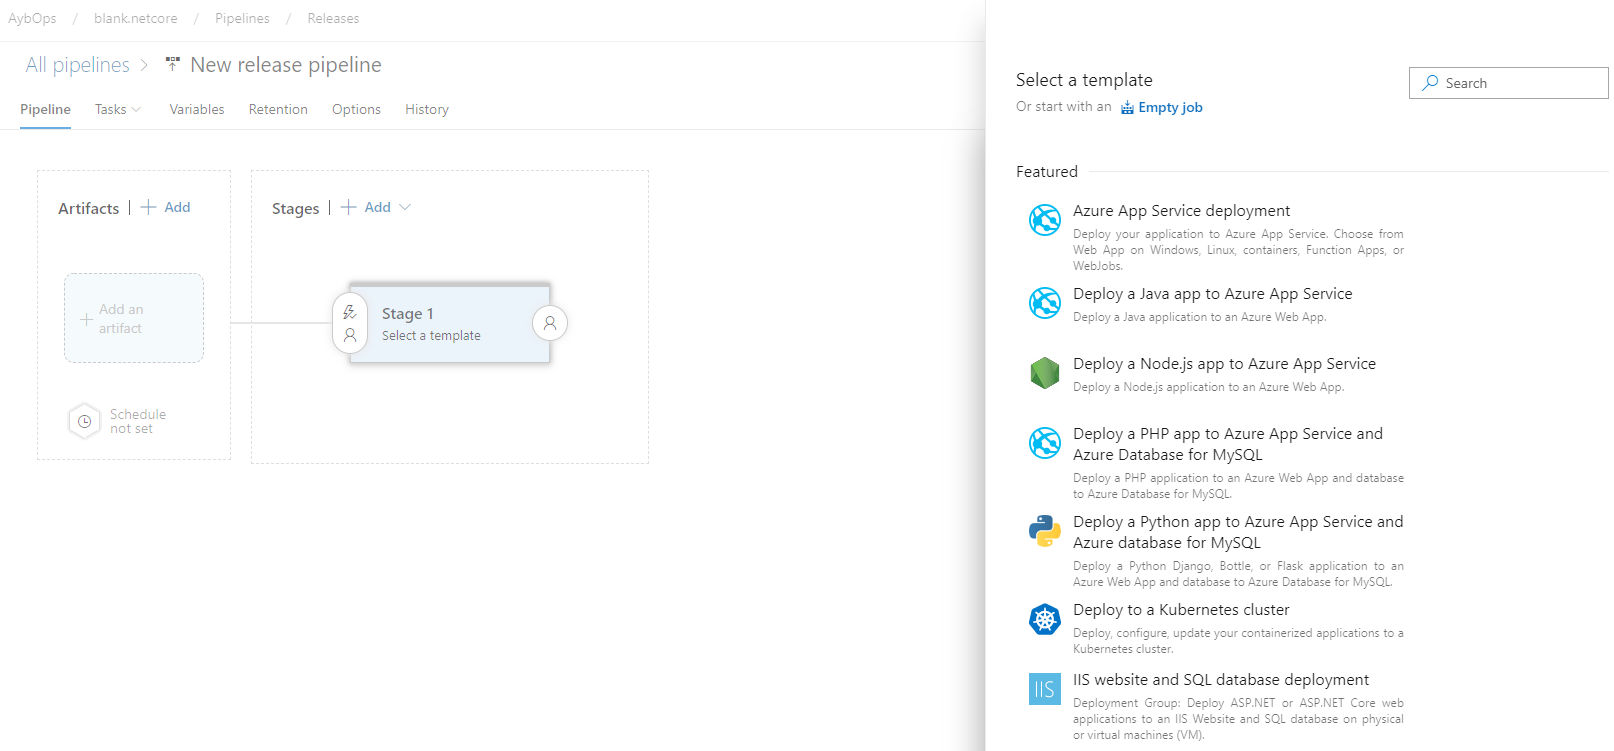
Azure DevOps ask us a template. I am going to continue with the IIS website deployment template. Before the deployment stage, we need to add our build artifact.
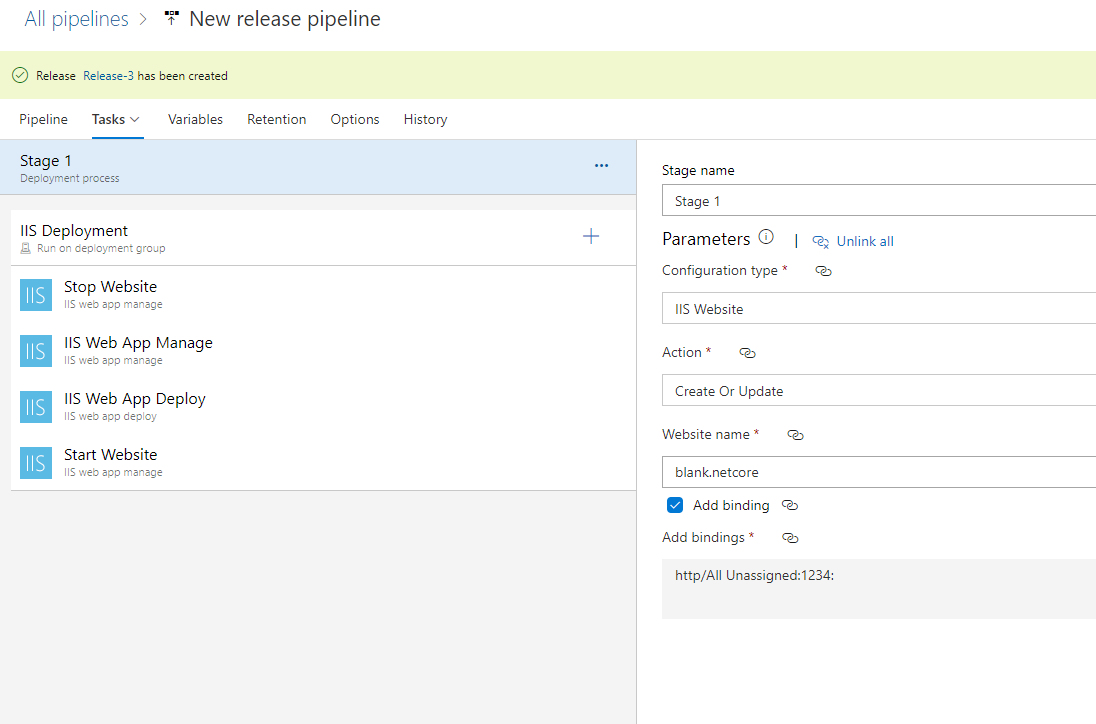
I configured my task as above. I added the website to IIS 1234 port so that I added these bindings to the deployment process.
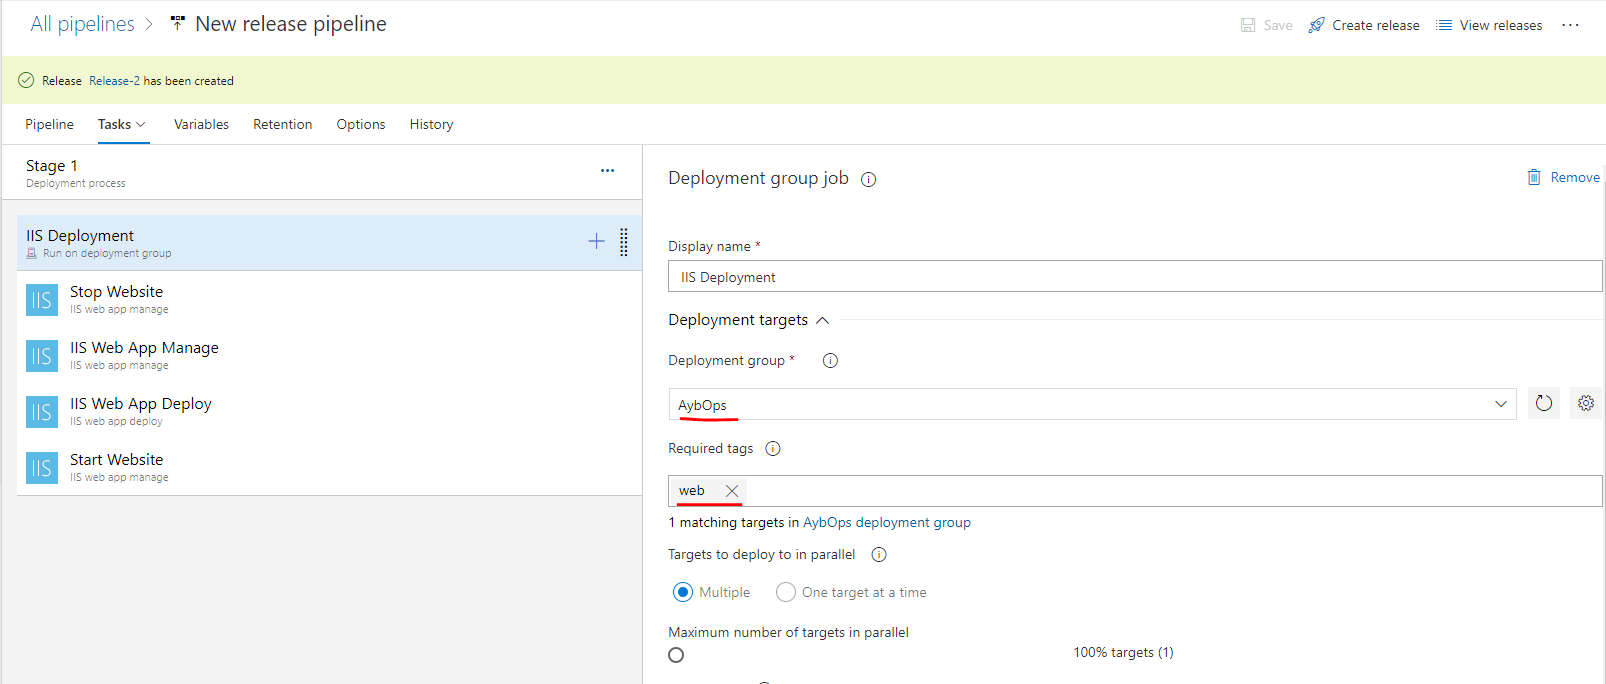
In the IIS Deployment part, we set the deployment group which we created in.
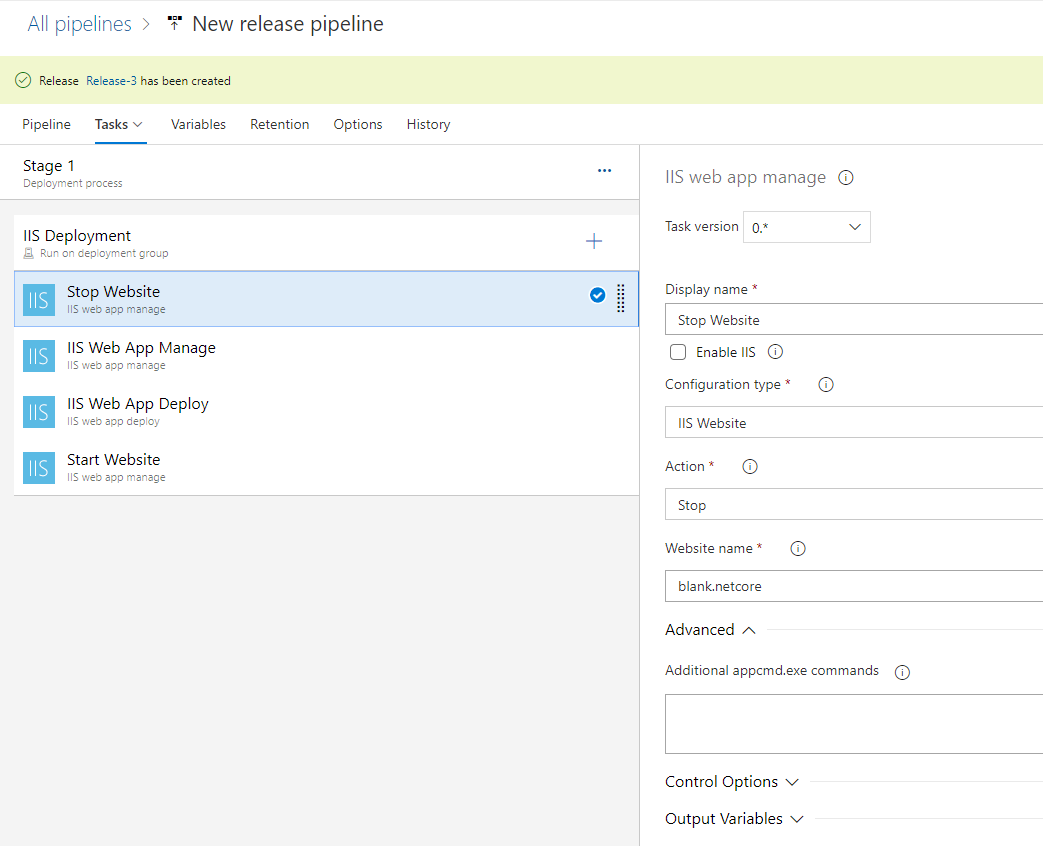
Stop Website
Don’t forget to configure the website name. That website name must be the same as your IIS website name.
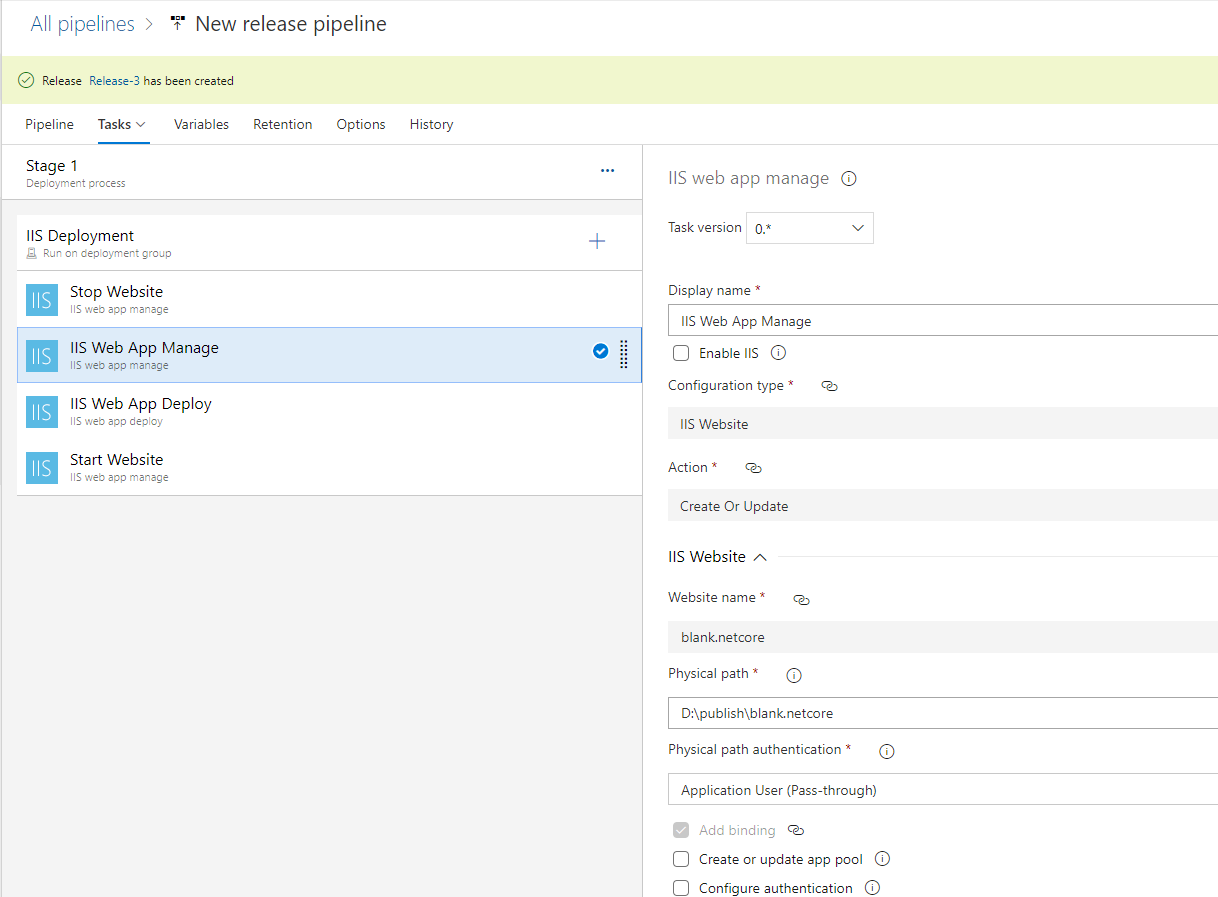
IIS Web App Manage
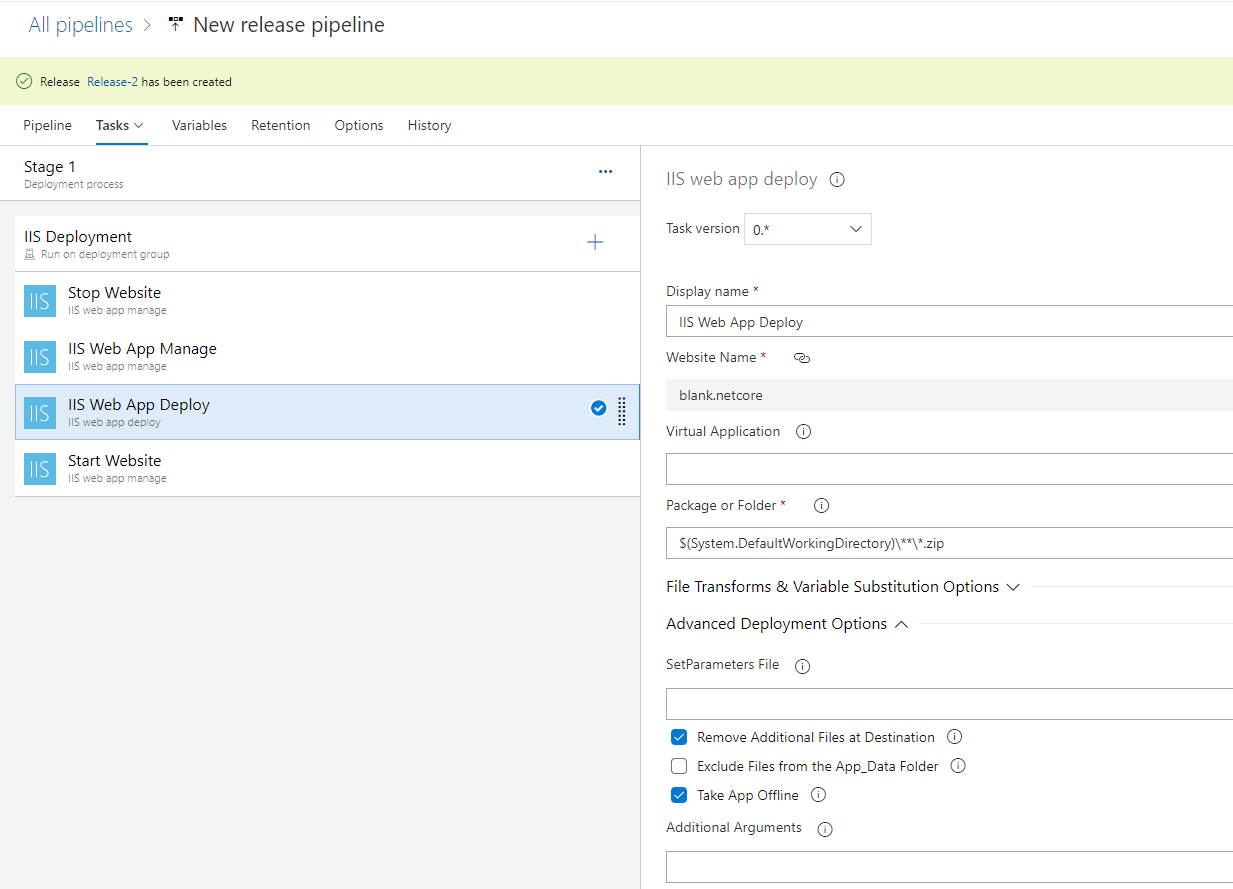
IIS Web App Deploy!
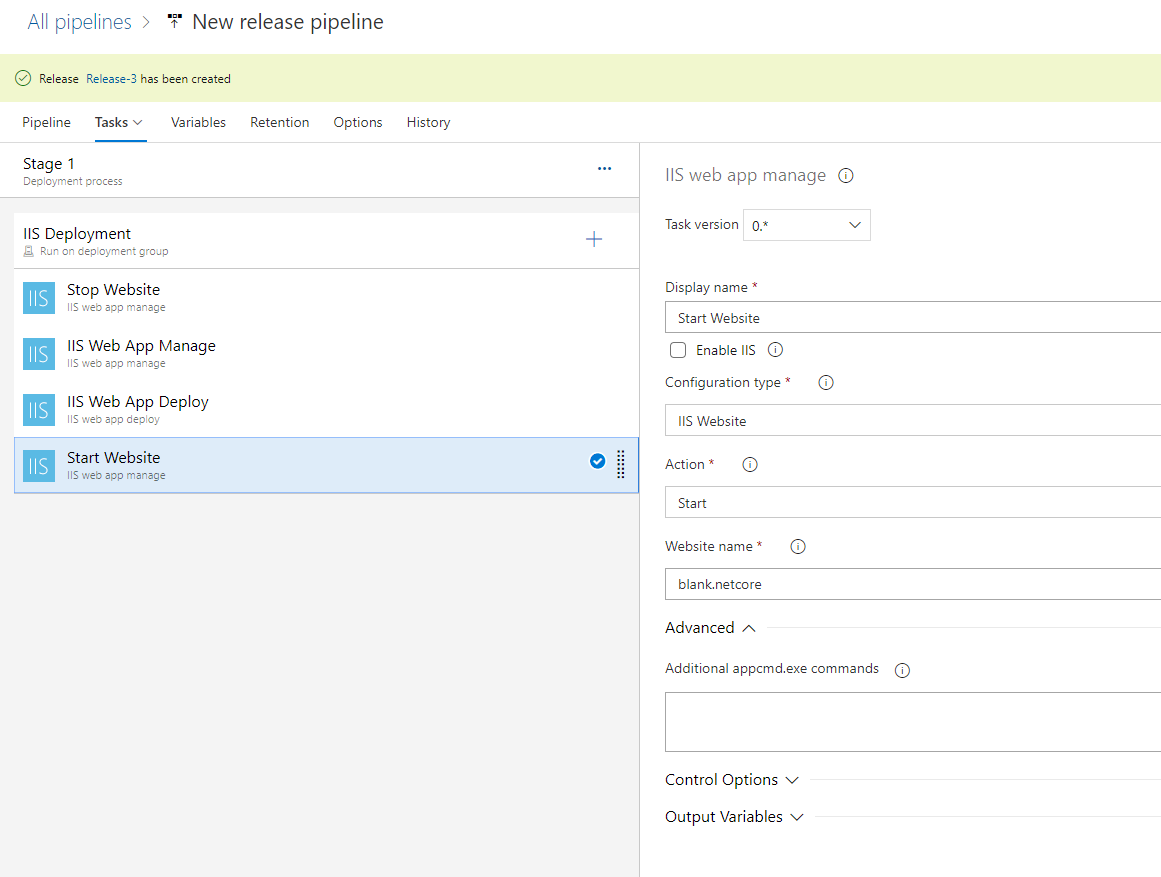
Start Website
So show you all our release tasks.
Run and Deploy 🚀
Navigation -> Release -> Create Release
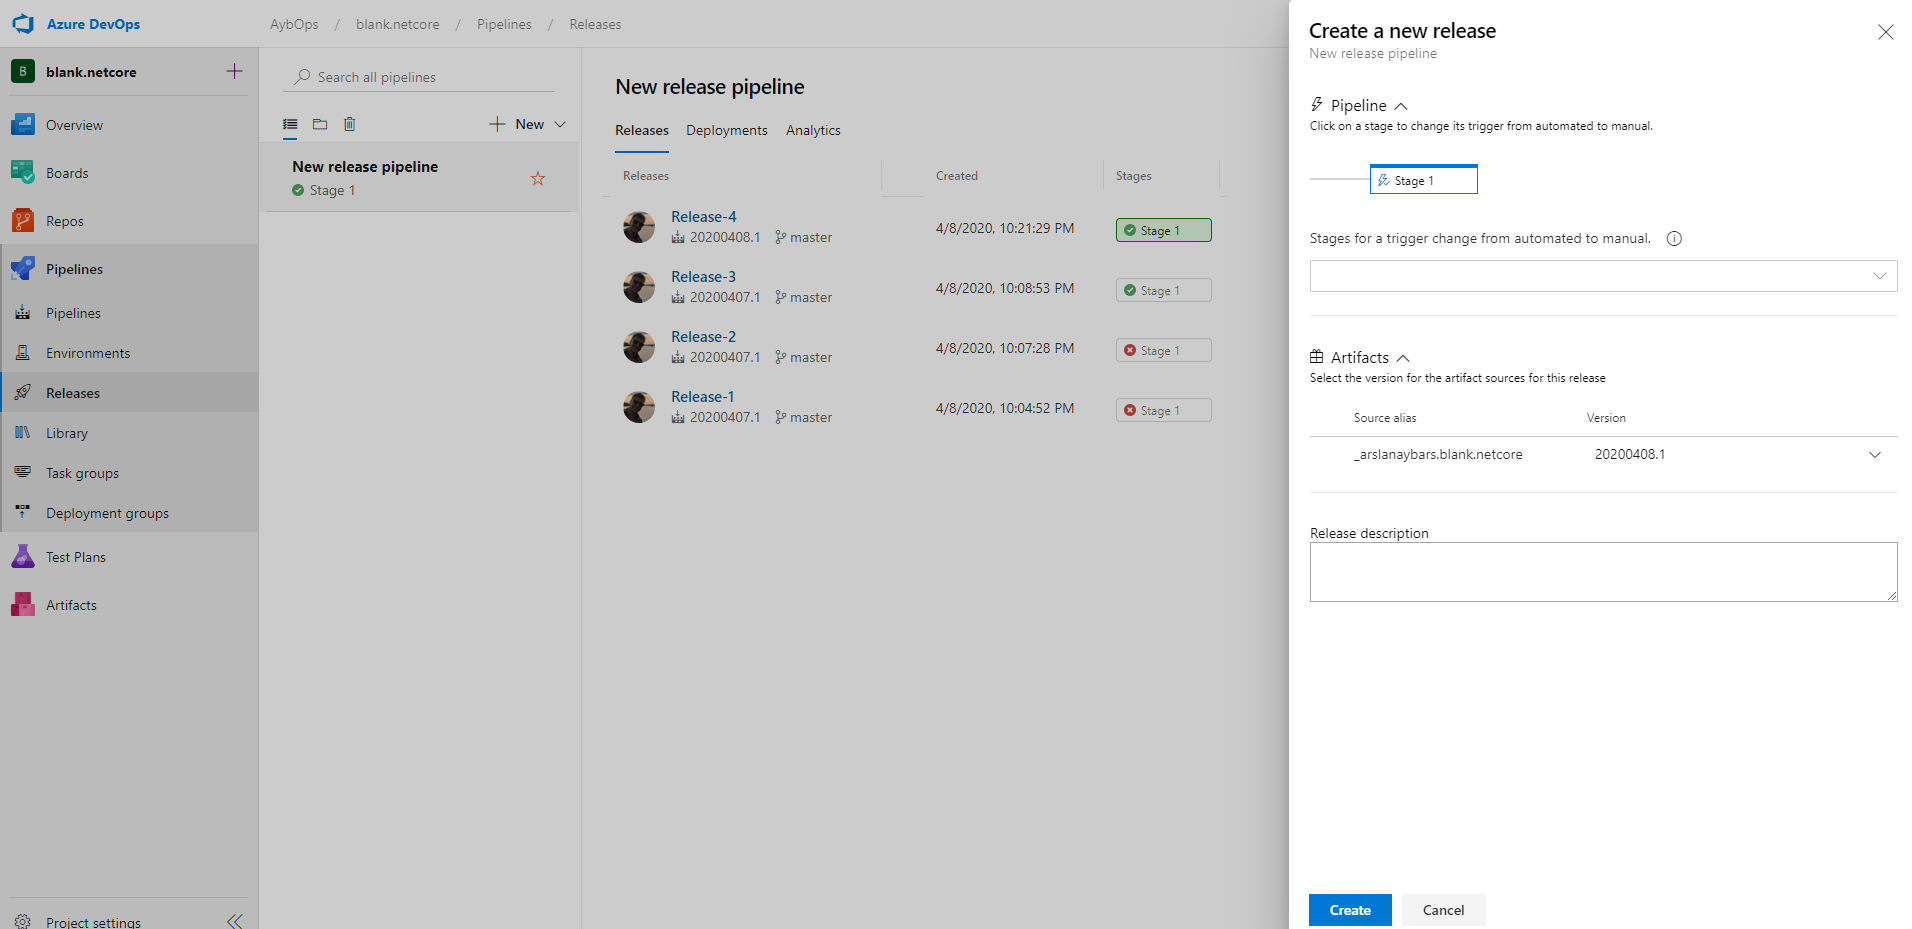
Create a new release
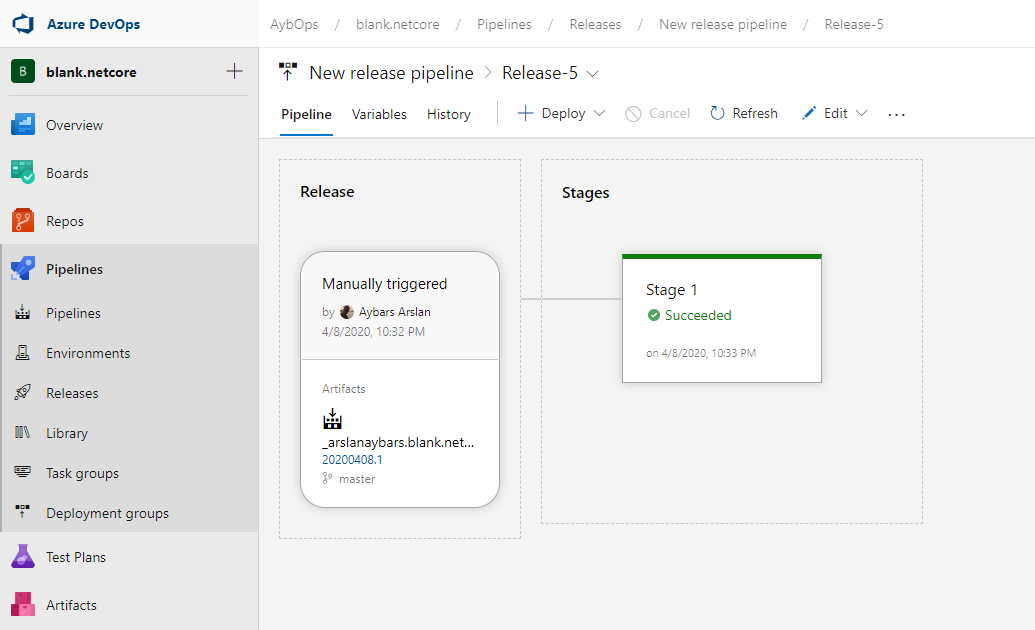
Our deployment is stages are succeeded. It means that deployed! ⚡⚡
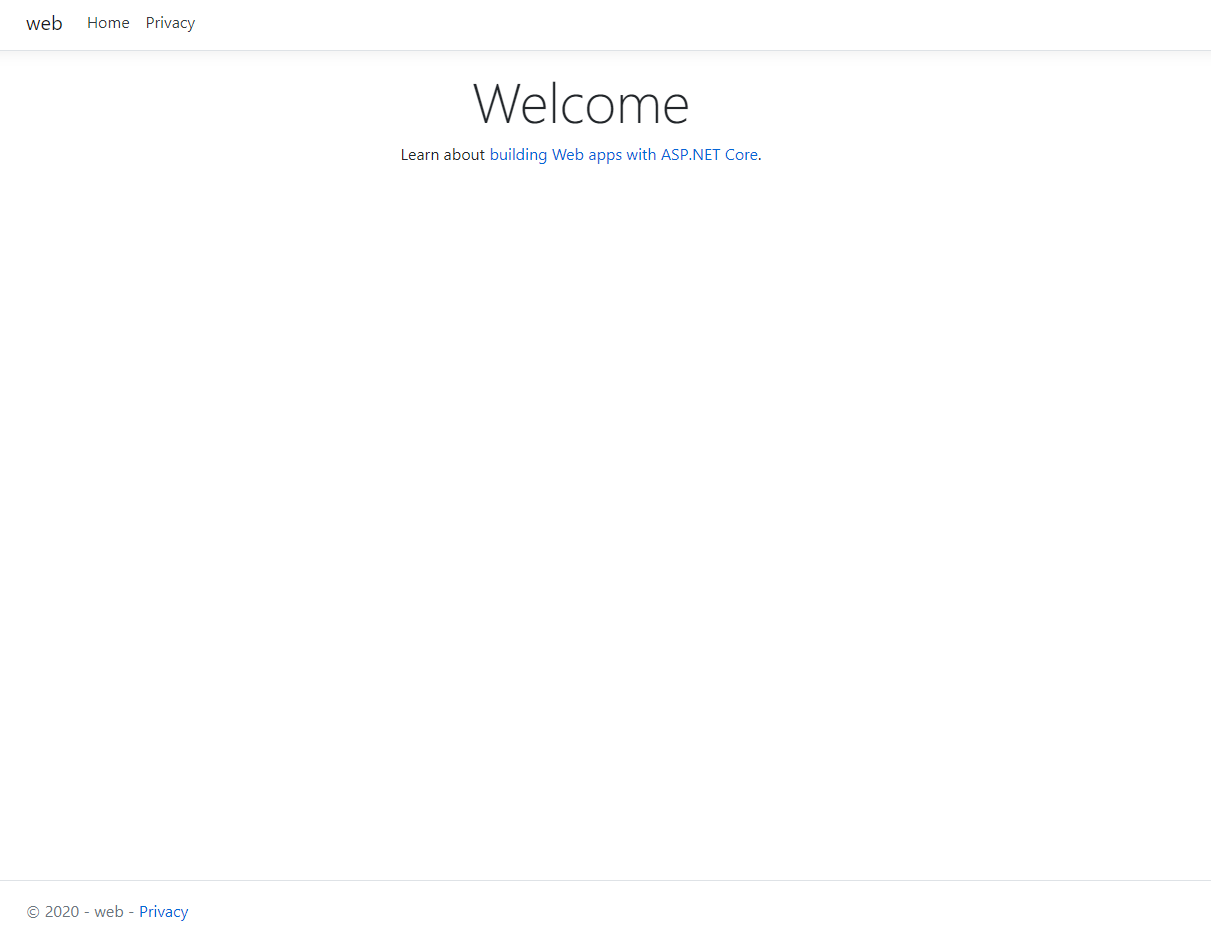
blank.netcore deployed
In conclusion, when we trigger our master branch our build pipelines start. After build succeded we can create the release pipeline and deploy the app to our on-prem server.